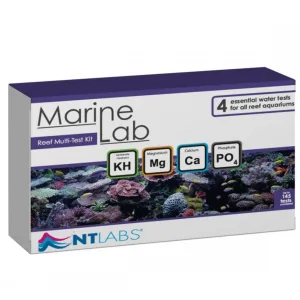
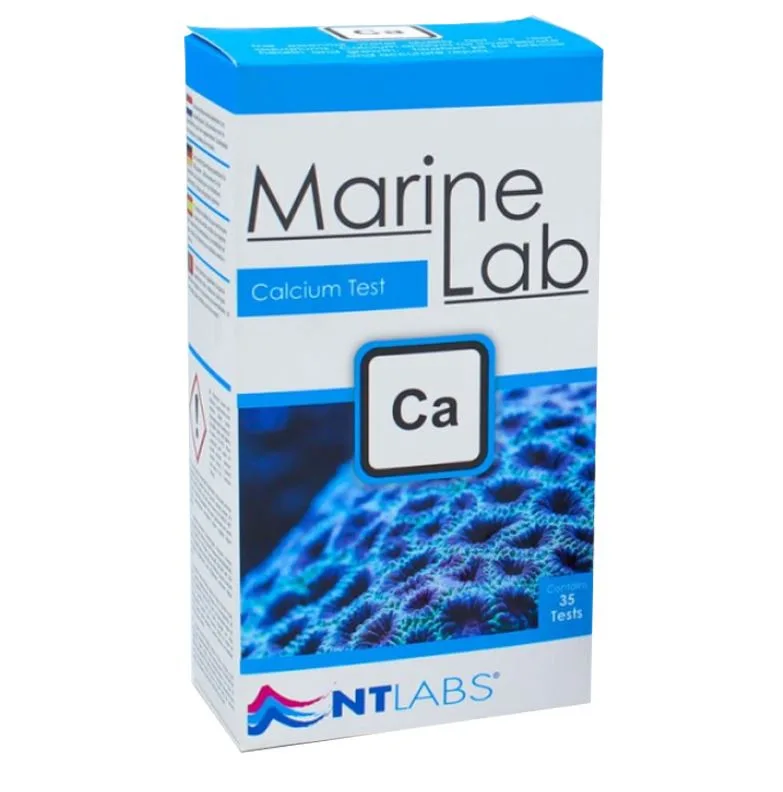
Ntlabs Marine calcium test kit

£9.99

What is calcium?
Calcium is one of the critical building blocks for corals, clams, calcareous algae and many other marine organisms. After sodium and magnesium, calcium is the third-most abundant cation found in seawater and is vital for a balanced marine environment.

Why test for calcium?
Achieving the correct calcium concentration range is critical: too little can lead to poor coral health, while too much can result in depletion of carbonate hardness (KH). Testing for calcium allows you to ensure optimal conditions for your aquarium inhabitants and the stability of other significant water chemistry parameters.

What is the correct level of calcium?
The typical value of calcium found in seawater is 420 mg/l, but values in the aquarium vary from 380 mg/l to 450 mg/l, dependent on the method of running your aquarium.

What to do if the calcium level is wrong?
If the calcium level in your aquarium is wrong, partial water changes using a good quality reef salt is recommend to help re-establish the correct calcium concentration. It is also important to check the magnesium and KH as the three are correlated. If the calcium is incorrect, magnesium and KH are also likely to be wrong.

How to test for calcium?

Use the 1 ml pipette provided to measure 1 ml of water to be tested into the titration vessel.
Add 5 drops of Ca-1 reagent. The sample will turn cloudy.
Add 5 drops of Ca-2 reagent to turn the sample pink in colour.
Attach the titration tip to the 1 ml syringe provided.
Draw up 1 ml of Ca-3 so that the bottom of the plunger is at the 1.0ml mark. It is normal for there to be an air bubble below the plunger and this does not need to be removed.
Slowly dispense from the syringe into the titration vessel while swirling to ensure proper mixing.
Keep dispensing from the syringe. Slow down when the colour of the solution changes from pink to purple.
Stop dispensing from the syringe when the solution changes to blue without a hint of purple.
Read the syringe, noting the value indicated by the bottom of the plunger (not the level of the liquid). Look up this value on the chart to determine the calcium concentration in mg/l (as Ca2 ).
N.B. To avoid cross-contaminating the titrating reagent (Ca-3), do not return the small quantity of the titrant left in the syringe back into the bottle at the end of the test. After use, clean and dry the syringe, tip and titration vessel with mineral-free water (such as RO water, if available) to ensure the accuracy of subsequent tests.

SKU: Ntlabs Marine calcium test kit Category:

What is calcium?
Calcium is one of the critical building blocks for corals, clams, calcareous algae and many other marine organisms. After sodium and magnesium, calcium is the third-most abundant cation found in seawater and is vital for a balanced marine environment.

Why test for calcium?
Achieving the correct calcium concentration range is critical: too little can lead to poor coral health, while too much can result in depletion of carbonate hardness (KH). Testing for calcium allows you to ensure optimal conditions for your aquarium inhabitants and the stability of other significant water chemistry parameters.

What is the correct level of calcium?
The typical value of calcium found in seawater is 420 mg/l, but values in the aquarium vary from 380 mg/l to 450 mg/l, dependent on the method of running your aquarium.

What to do if the calcium level is wrong?
If the calcium level in your aquarium is wrong, partial water changes using a good quality reef salt is recommend to help re-establish the correct calcium concentration. It is also important to check the magnesium and KH as the three are correlated. If the calcium is incorrect, magnesium and KH are also likely to be wrong.

How to test for calcium?

Use the 1 ml pipette provided to measure 1 ml of water to be tested into the titration vessel.
Add 5 drops of Ca-1 reagent. The sample will turn cloudy.
Add 5 drops of Ca-2 reagent to turn the sample pink in colour.
Attach the titration tip to the 1 ml syringe provided.
Draw up 1 ml of Ca-3 so that the bottom of the plunger is at the 1.0ml mark. It is normal for there to be an air bubble below the plunger and this does not need to be removed.
Slowly dispense from the syringe into the titration vessel while swirling to ensure proper mixing.
Keep dispensing from the syringe. Slow down when the colour of the solution changes from pink to purple.
Stop dispensing from the syringe when the solution changes to blue without a hint of purple.
Read the syringe, noting the value indicated by the bottom of the plunger (not the level of the liquid). Look up this value on the chart to determine the calcium concentration in mg/l (as Ca2 ).
N.B. To avoid cross-contaminating the titrating reagent (Ca-3), do not return the small quantity of the titrant left in the syringe back into the bottle at the end of the test. After use, clean and dry the syringe, tip and titration vessel with mineral-free water (such as RO water, if available) to ensure the accuracy of subsequent tests.